

Account policies and Workspace controls
Choose how to manage each supported setting:
Delegation applies to individual supported settings, not every control. Workspace admins cannot change settings marked Set by account policy.
Screenshots show example values, not recommended defaults. Review each setting against your organization’s requirements.
Set account-wide policies
Account-wide policies let you manage shared requirements without configuring each Workspace separately.- Open Settings → Advanced in the Account section.
- Select the setting you want to manage.
- Choose the account-level value under Account setting.
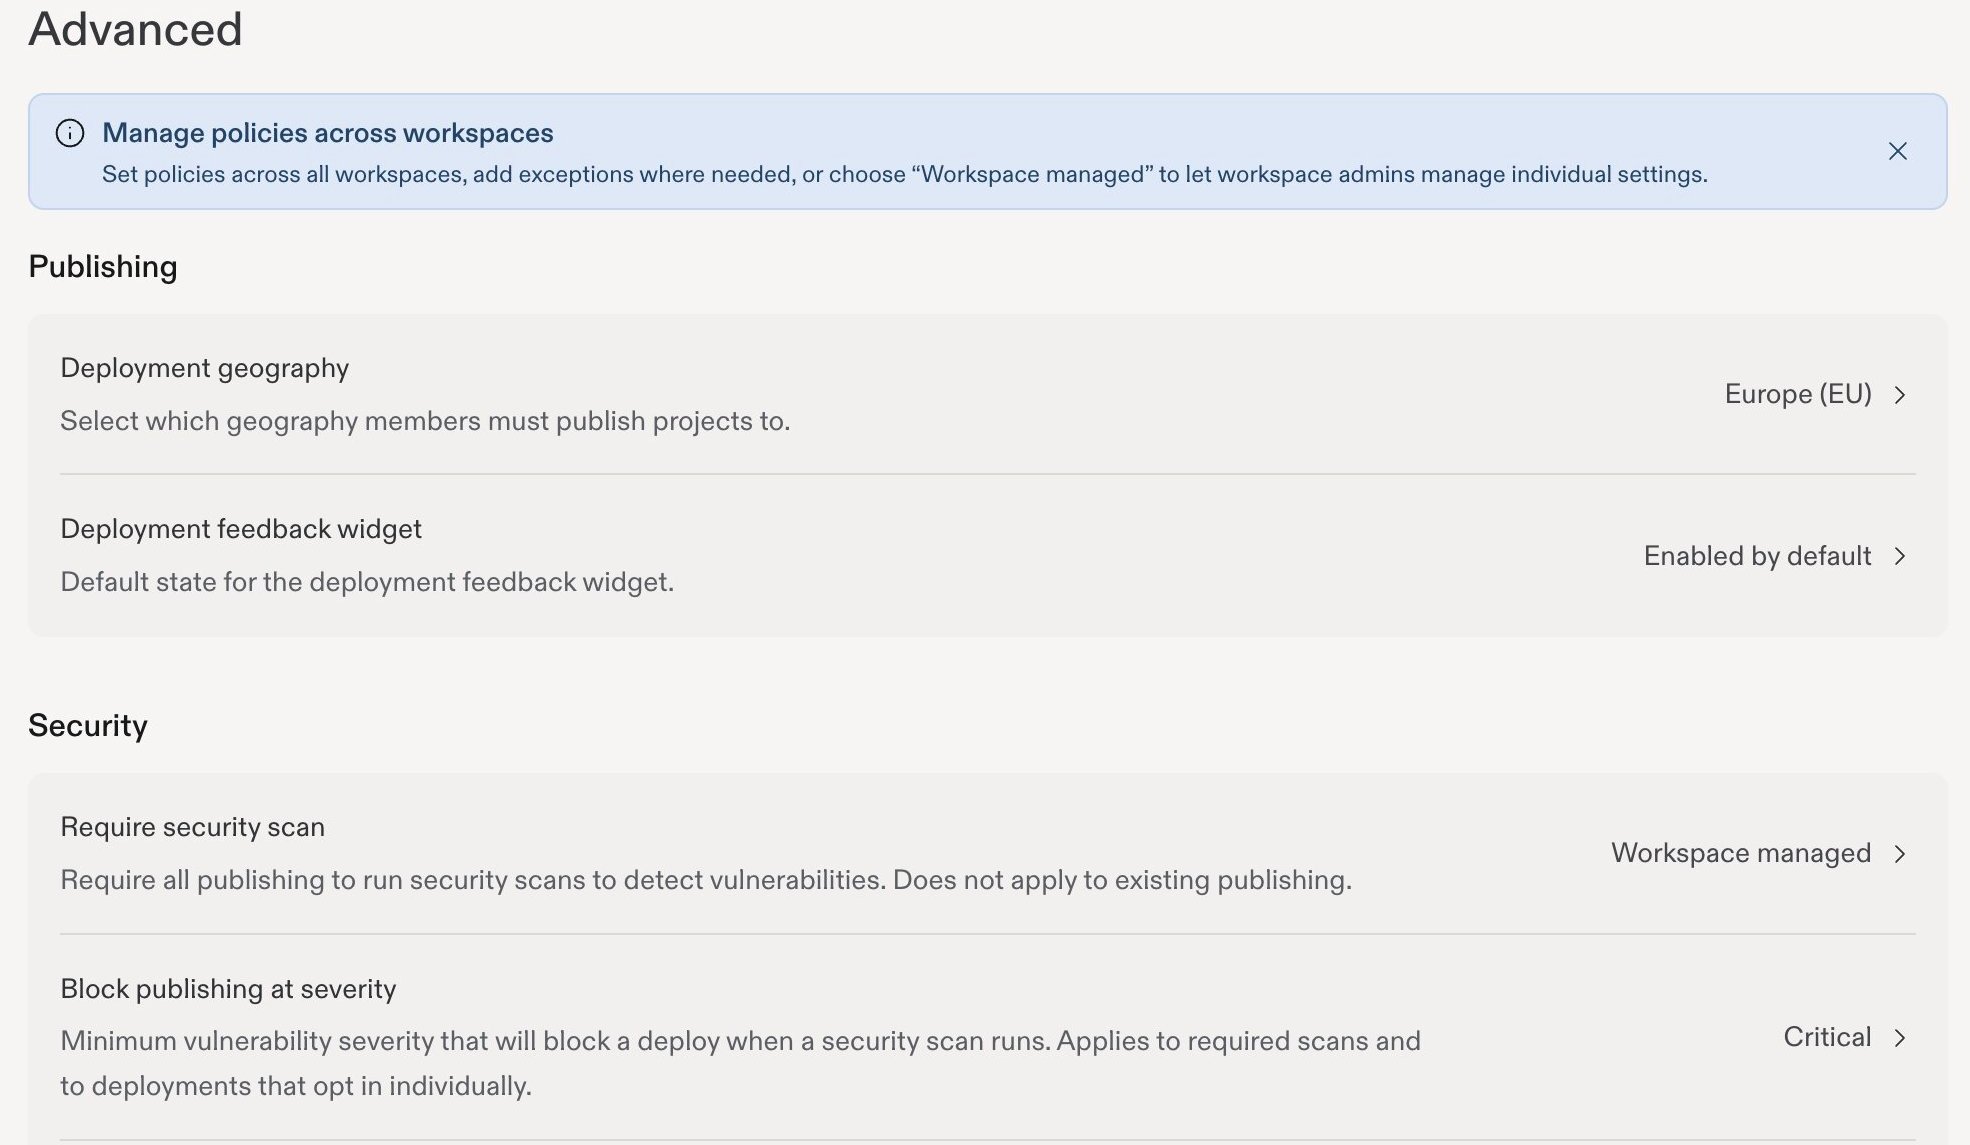
Advanced settings groups account policies and shows their current values.
Add a Workspace exception
Use an exception when a Workspace needs a different rule. For example, you might restrict public publishing account-wide while allowing it in a Workspace for public-facing apps. To allow public publishing for a single project instead, use public publishing exceptions.- Open the setting in Settings → Advanced.
- Find the Workspace in the Workspace settings list.
- Choose the value for that Workspace.
Delegate a supported setting
Choose Workspace managed when Workspace admins should decide a setting for their own teams.- Open the setting in Settings → Advanced.
- Open the account-level dropdown under Account setting.
- Select Workspace managed, when available.
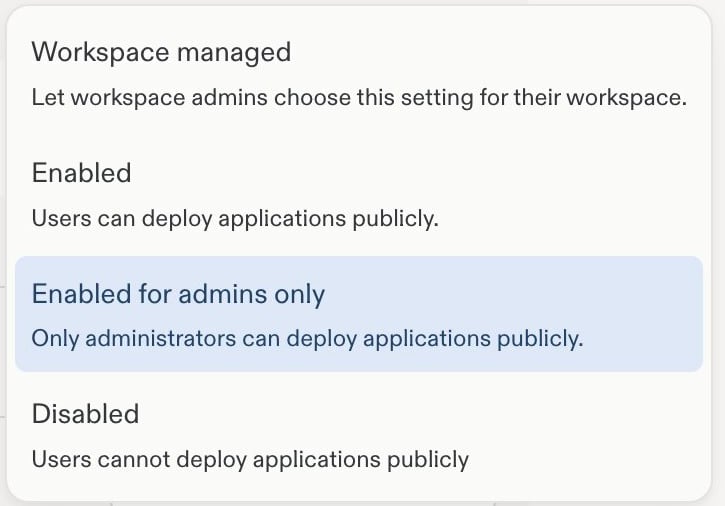
A cropped Public deployments menu showing the Workspace managed option.
Manage delegated Workspace settings
As a Workspace admin, open Settings → Workspace settings for your Workspace. Change the supported controls that your account admin has delegated. Controls labeled Set by account policy are locked at the Workspace level. Ask an account admin to change the policy or configure an exception.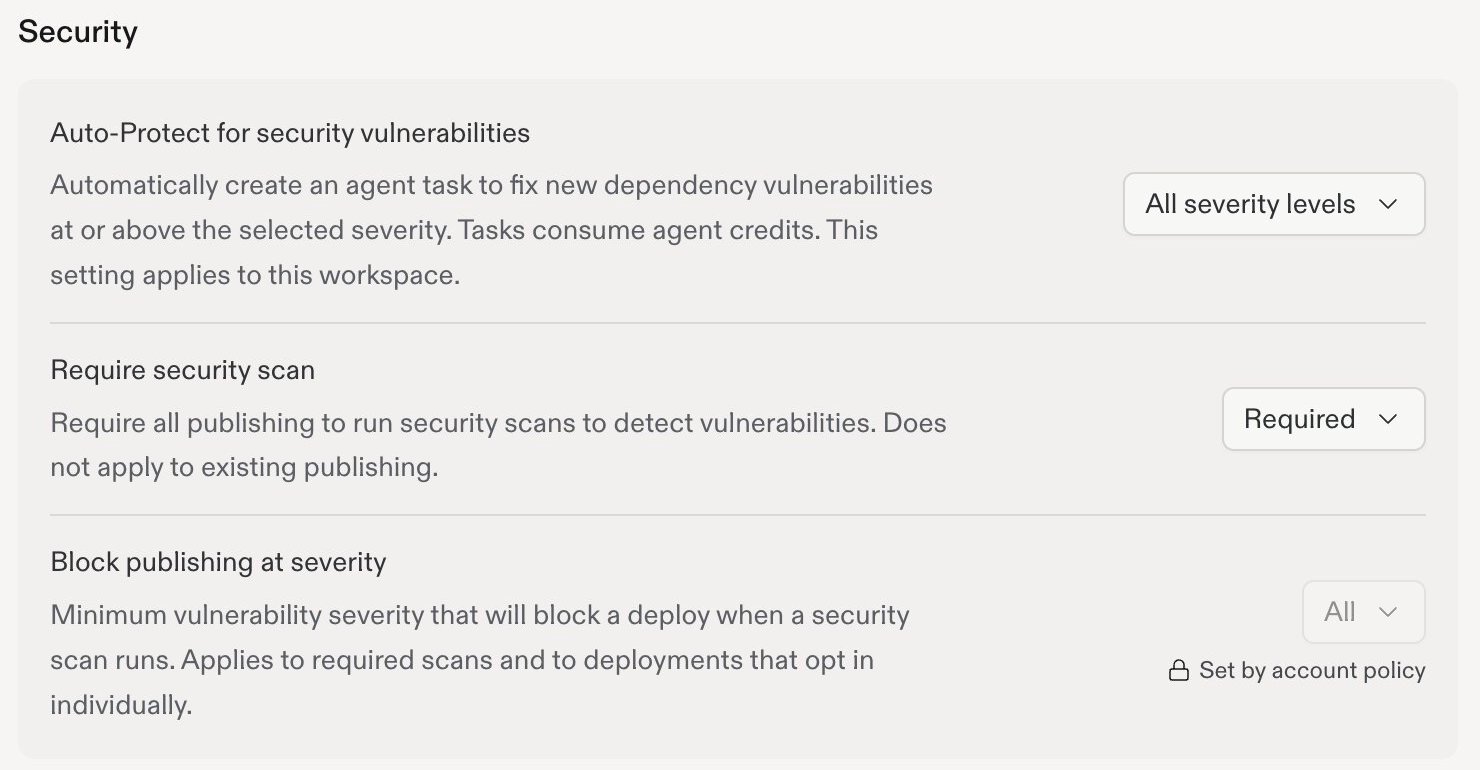
Workspace settings distinguishes editable controls from controls locked by account policy.
Account seats
Open Settings → Account seats to review subscription seats across all your Workspaces. The page separates Collaborators and Viewers, showing used seats against the available allocation.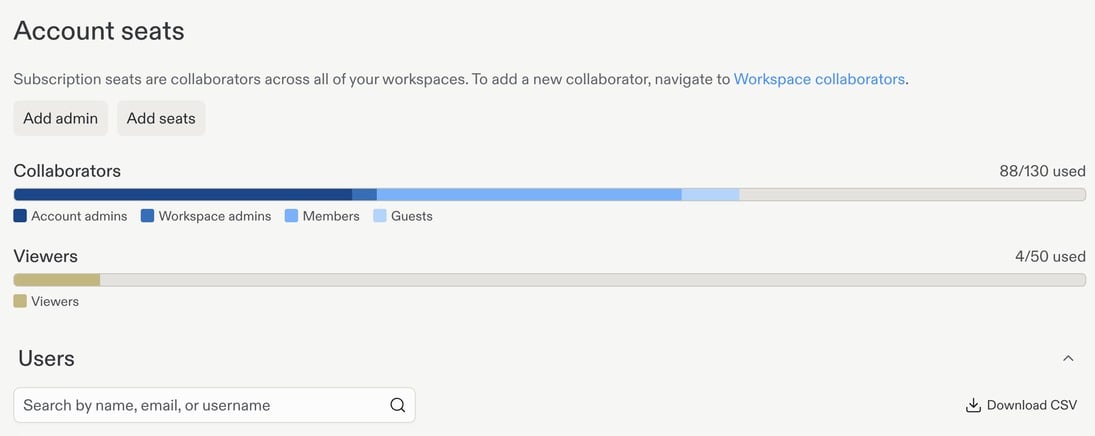
Account seat totals. The user directory and personal account details have been cropped out.
Admin API
The Admin API gives Enterprise account admins programmatic access to account information and supported administrative actions. Use it for internal reporting, usage dashboards, or operational integrations. Open Settings → Developer → API keys and select Create API key to get started.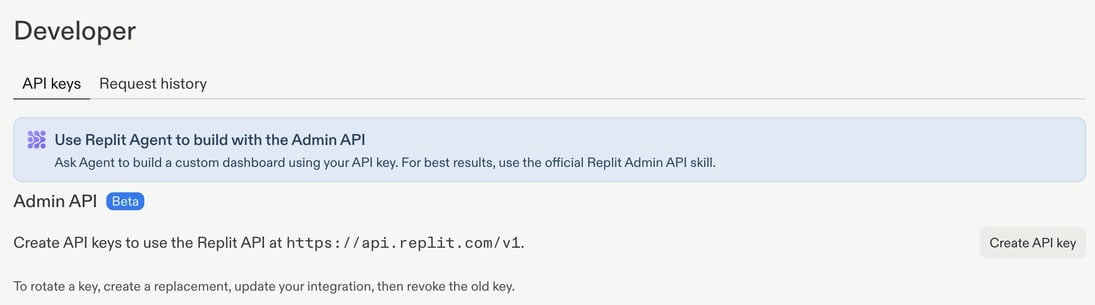
Developer settings. Existing API keys, token prefixes, and creator details have been cropped out.
Access requests
Open Settings → Advanced → Access requests to choose which requests are available in each Workspace. These controls let people ask for additional access when they reach a limit or encounter a policy restriction; making a request available does not automatically grant it.Review these requests with the Admin API, which can retrieve, approve, or deny them. Settings does not include an approval inbox.
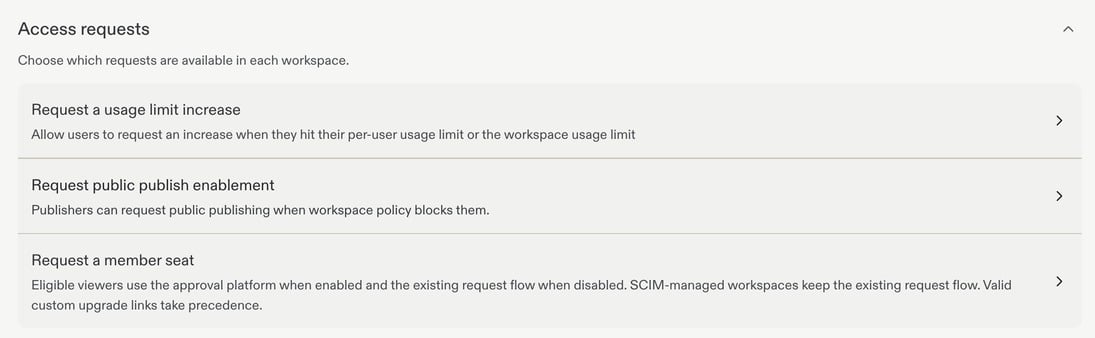
Select a request type to review its Workspace settings. For example, Request a usage limit increase offers an Enabled or Disabled setting for each Workspace.
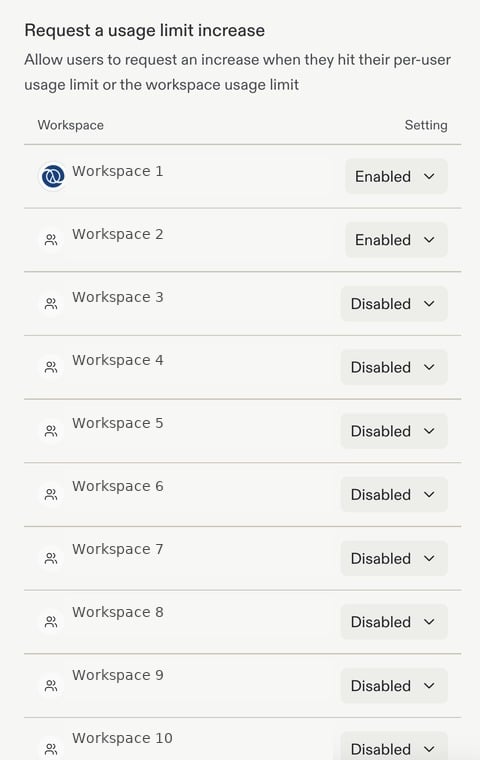
Usage-limit request controls with example Workspace names.
Member-seat requests have additional routing rules: SCIM-managed Workspaces keep their existing request flow, and valid custom upgrade links take precedence.
Other administrative controls
- Privacy and deployment settings: Control publishing privacy and deployment geography.
- Model controls: Choose approved models and effort options.
- Observability: Review consumption and audit logs.
- Standardization: Share reusable workflows and design guidance.